Migrating Data Attributes
You can include data attributes for migration as part of a load.
In the current release, EDC Migrator supports the following attributes:
- ILB (Intentionally Left Blank)
- SDV (Source Data Verification)
- DMR (Data Management Review)
- FREEZE
- LOCK
- ESIGNATURE
Identifying Target Objects
In the “attributes.csv” file, you identify a target object and enter “true” to apply an attribute to it. To apply multiple attributes to a target object, enter “true” for each attribute.

You can apply attributes to all of an object’s children by applying the attribute to the parent object. For example, if you identify a Form for SDV, migration applies SDV to all Items on that Form.
To uniquely identify an object, you must provide values in the following identifier columns:
- Casebook:
- STUDYID
- SUBJID
- SITENUM
- Event Group:
- STUDYID
- SUBJID
- SITENUM
- EGROUP
- EGROUPSEQ
- Event:
- STUDYID
- SUBJID
- SITENUM
- EGROUP
- EGROUPSEQ
- EVENT
- Event Date:
- STUDYID
- SUBJID
- SITENUM
- EGROUP
- EGROUPSEQ
- EVENT
- FIELD
- Visit Method:
- STUDYID
- SUBJID
- SITENUM
- EGROUP
- EGROUPSEQ
- EVENT
- FIELD
- Form:
- STUDYID
- SUBJID
- SITENUM
- EGROUP
- EGROUPSEQ
- EVENT
- FORM
- FORMSEQ
- Item Group:
- STUDYID
- SUBJID
- SITENUM
- EGROUP
- EGROUPSEQ
- EVENT
- FORM
- FORMSEQ
- ITEMGROUP
- IGSEQ
- Item:
- STUDYID
- SUBJID
- SITENUM
- EGROUP
- EGROUPSEQ
- EVENT
- FORM
- FORMSEQ
- ITEMGROUP
- IGSEQ
- ITEM
If the records in your CSV must be uniquely identified by other columns, you can use a configurable identity. These are defined in the identities object within your “header.yml” file.
Then, you can map to them from your “attributes.csv” file using the REFERENCE and REFERENCE_TYPE columns. REFERENCE_TYPE indicates which object you’re identifying. REFERENCE provides the values.
You can leave REFERENCE and REFERENCE_TYPE columns blank if you’re not using a configurable identity.
The SITENUM column is always required.
Applying Attributes
The Migrator applies attributes at the highest level and propagates them downward. For example, freezing a Form freezes all of its Items, and applying a Casebook signature signs every Form.
The following diagram illustrates the attribute application hierarchy, showing the structural levels that support attribute ingestion.
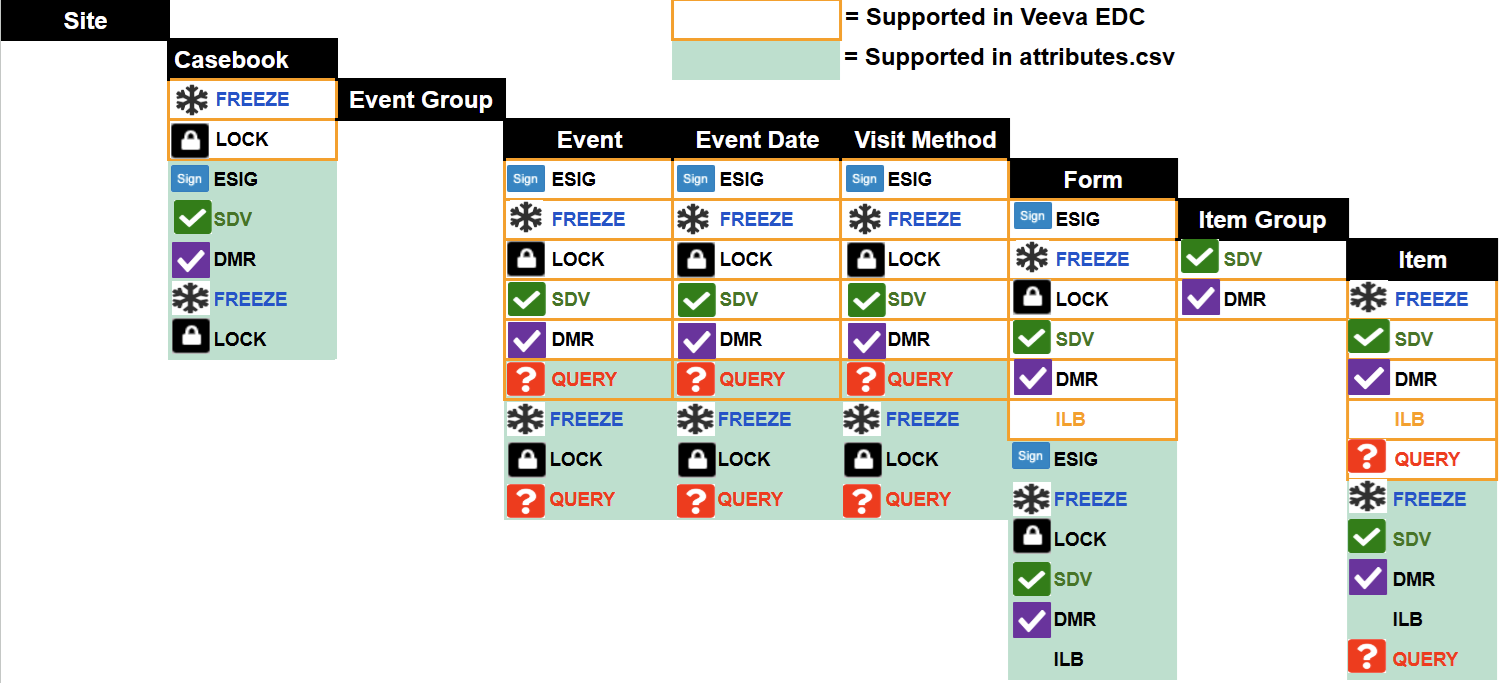
Intentionally Left Blank
You can mark a Form or individual Items as Intentionally Left Blank (ILB).
Source Data Verification (SDV)
You can mark Event Dates and Items as SDV (the SDV Complete status in EDC). To apply the SDV status in bulk, set the attribute at a higher structural level:
- Set the attribute at the Casebook level to apply it to all Forms and their Items
- Set the attribute at the the Form level to apply it to all Items on the Form
DMR
You can perform data management review (DMR) after a form is submitted to ensure that data collection follows study protocols. DMR attributes are applied in the Attributes CSV File at the Casebook, Form, and Item levels. For more information, read DMR Support for Migration.
Frozen
You can freeze a Casebook (subject), an Event (freezing the Event Date and all Forms within the Event), an Event Date, a Visit Method, a Form (and all of its Items), and individual Items.
Locked
You can lock a Casebook (subject), an Event (lock the Event Date and all Forms within the Event), an Event Date, a Visit Method, a Form (and all of its Items), and individual Items.
eSignature
You can sign a Casebook (subject), which signs all of the casebook’s Forms that are in the Submitted status, or sign individual Forms. Forms must be in the Submitted status for signatures to apply.
Preparing the Attributes CSV File
You use a CSV file (“attributes.csv”) to map your attributes to their target objects in your source data.
Use this template to create your CSV file:
Download the Attributes Template
Your CSV file must include the following columns, with the exact header values specified in the table:
| Column | Description |
|---|---|
| STUDYID | Enter the Study ID for the Study. |
| SUBJID | Enter the Subject ID ( |
| SITENUM | Enter the Site Number ( |
| EGROUP | Enter the Name of the Event Group Definition. |
| EGROUPSEQ | For repeating Event Groups, enter the Sequence Number of the Event Group. |
| EVENT | Enter the Name of the Event Definition. |
| FORM | Enter the Name of the Form Definition. |
| FSEQ | For repeating Forms, enter the Sequence Number of the Form. |
| ITEMGROUP | Enter the Name of the Item Group. |
| IGSEQ | For repeating Item Groups, enter the Sequence Number of the Item Group. |
| ITEM | Enter the Name of the Item Definition. |
| ILB | Enter “true” to mark the target object as Intentionally Left Blank. Otherwise, leave this column blank. |
| ILB_REASON | If you entered “true” in the ILB column, enter a Reason. This must be an exact match to a reason configured in EDC. |
| SDV | Enter “true” to mark the target object as SDV Complete. Otherwise, leave this column blank. |
| DMR | Enter “true” to mark the target object as DMR Complete. Otherwise, leave this column blank. |
| FREEZE | Enter “true” to mark the target object as Frozen. Otherwise, leave this column blank. |
| LOCK | Enter “true” to mark the target object as Locked. Otherwise, leave this column blank. |
| ESIG | Enter “true” to mark the target object as Signed. Otherwise, leave this column blank. |
| REFERENCE | This column is required to be present even if you aren’t using configurable identity. If you aren’t using this feature, include these column headers but leave the rows blank. Configurable identities specify multiple columns/values. Enter each of these values for the row’s record, separated by a pipe ( |
| REFERENCE_TYPE | This column is required to be present even if you aren’t using configurable identity. If you aren’t using this feature, include these column headers but leave the rows blank. Enter the type (object) of reference you’re providing for the record’s identity. The following types are supported:
|
| FIELD | This field identifies which field you want to apply a status to, Event Date or Visit Method.
|
View Results of an Attributes Load
You can view the results of an attributes load from the Attribute Status section of the Load details page.
To download attribute status:
- Navigate to your Load.
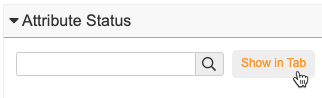
- Click Attribute Status to expand that page section.
-
Click Show in Tab.
-
From the Actions () menu, select CSV or Excel, depending on the file type you want.
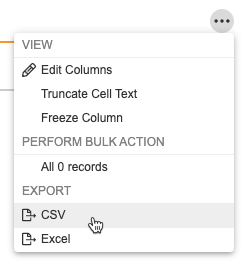
- Vault generates the file. When finished, save the file and open in an editor of your choosing.